Flexible Stone Installation
Flexible Stone Corners & Joints
Design and installation choices for inside corners, outside corners, panel joints and transitions to adjacent materials.
Overview
Corners and joints determine whether a thin cladding reads as a deliberate architectural finish. Choose each detail early, include it in the mock-up and coordinate it with substrate movement and adjacent trades.
Key steps
01
Map every transition
Identify inside and outside corners, terminations, movement joints, openings and interfaces with ceilings, floors and other finishes.
02
Select the detail
Depending on the product and design, details may use a formed return, accurately cut meeting edges, a controlled joint or a compatible trim.
03
Mock up at full scale
Approve the actual corner radius, edge appearance, joint width, sealant or trim and the way visual variation continues around the detail.
04
Install without bridging movement
Do not cover structural or designated movement joints with a rigid finish detail. Follow the project joint design and compatible system instructions.
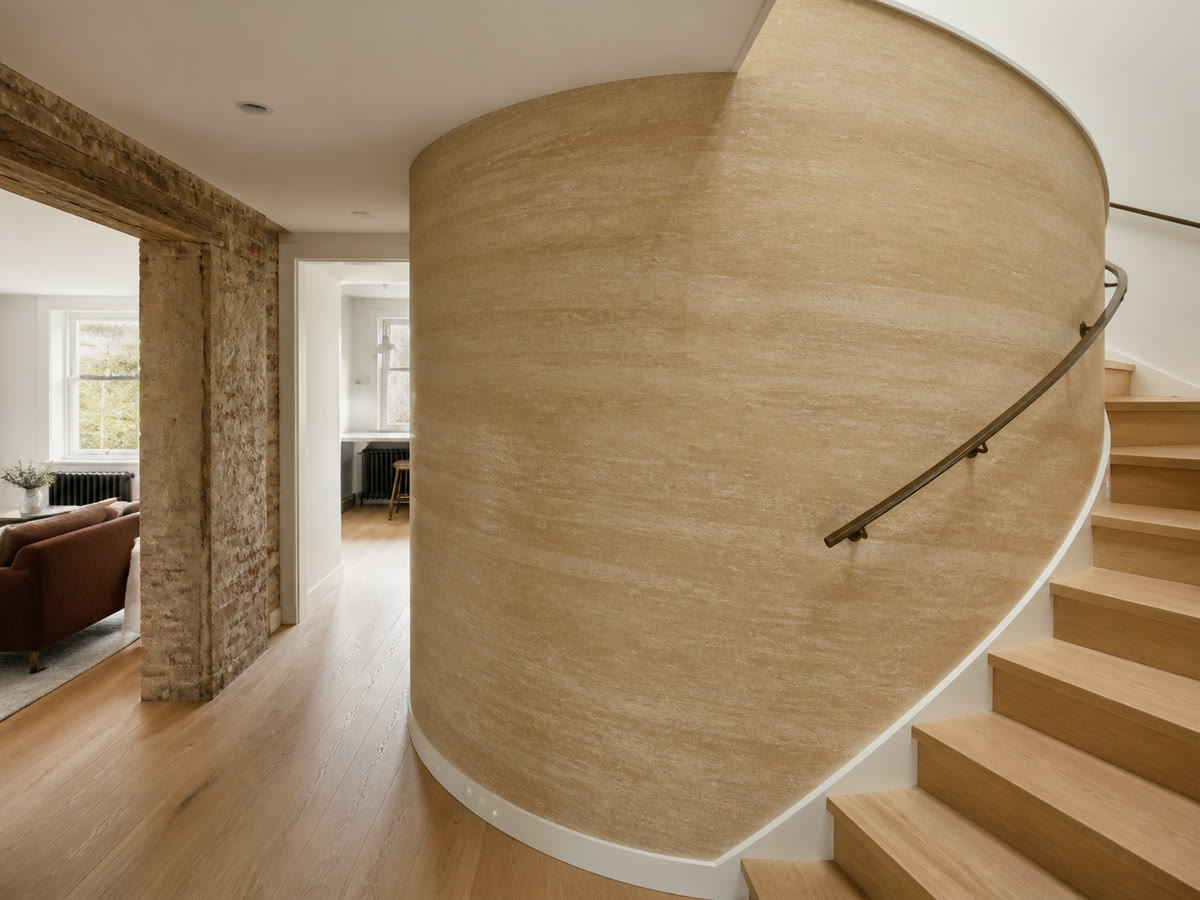
Curved returns and formed corners
Flexibility can help with some radiused details, but the achievable bend depends on the exact panel, direction, temperature and surface texture. Test the minimum practical radius with the supplied material rather than relying on a category-wide value.
Frequently asked questions
Can flexible stone wrap an outside corner?
Some products and corner radii may allow it, while others need a cut, joint or trim. Confirm the actual panel behavior with a full-scale mock-up.
Should movement joints be covered?
No. Existing and designed movement joints should normally continue through the finish using the project-approved joint detail.