Choose the finish, then confirm the format
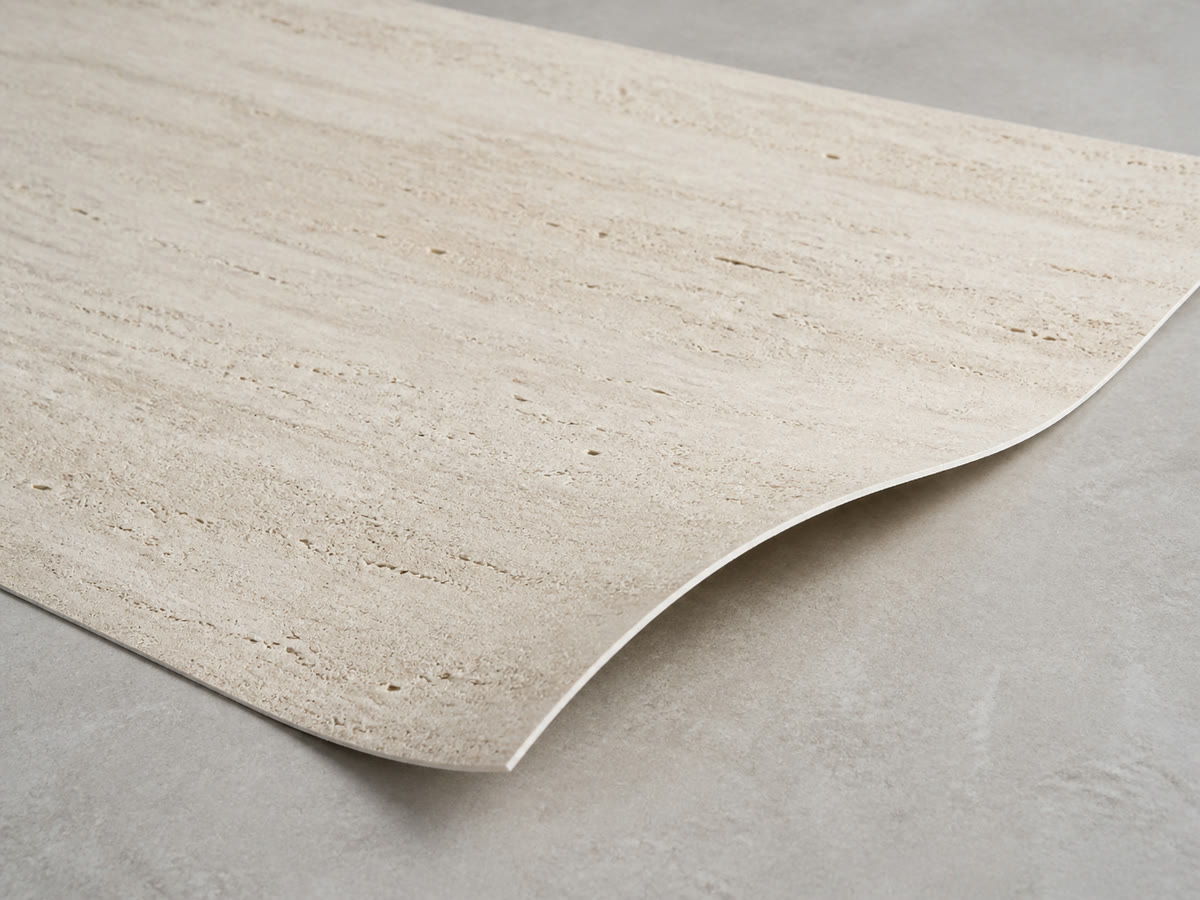
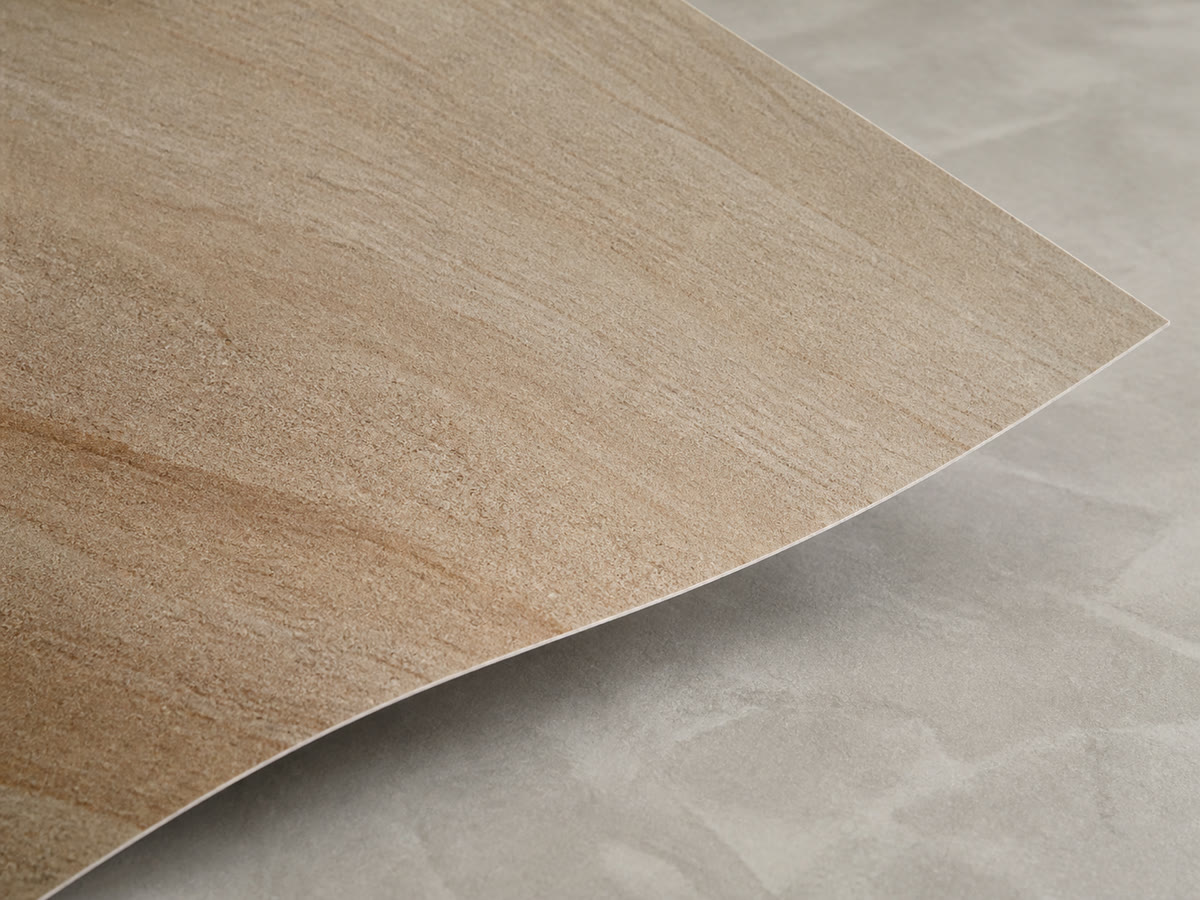
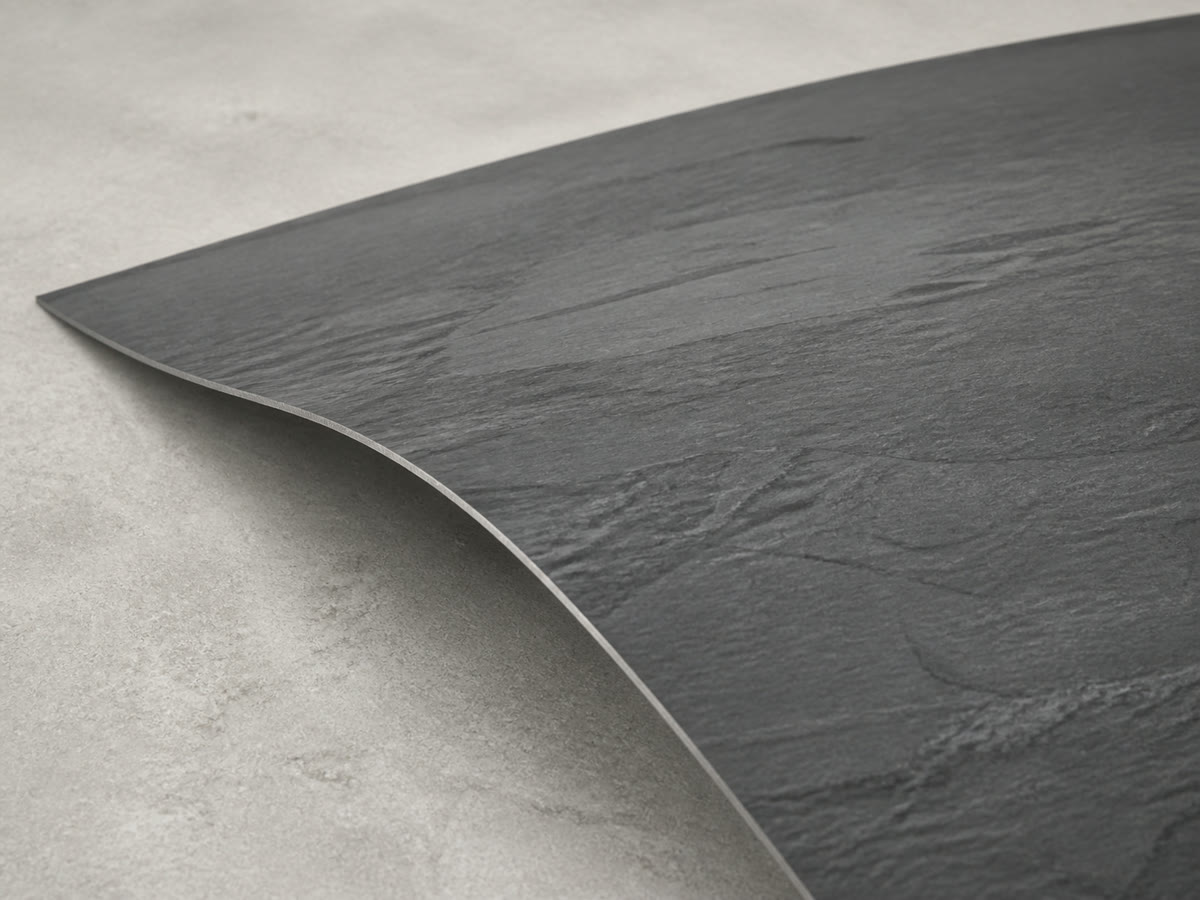
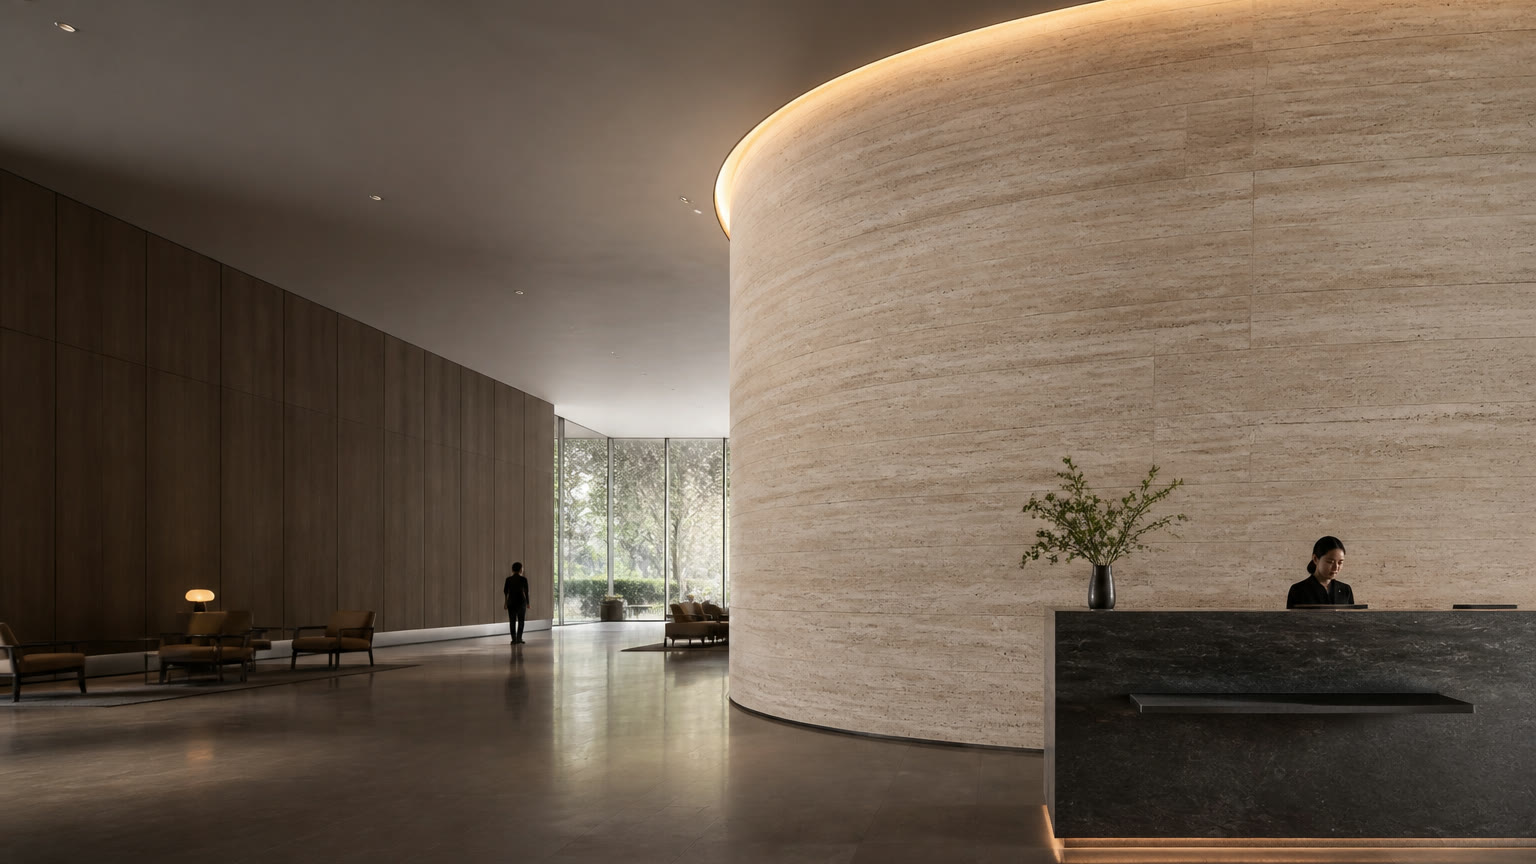
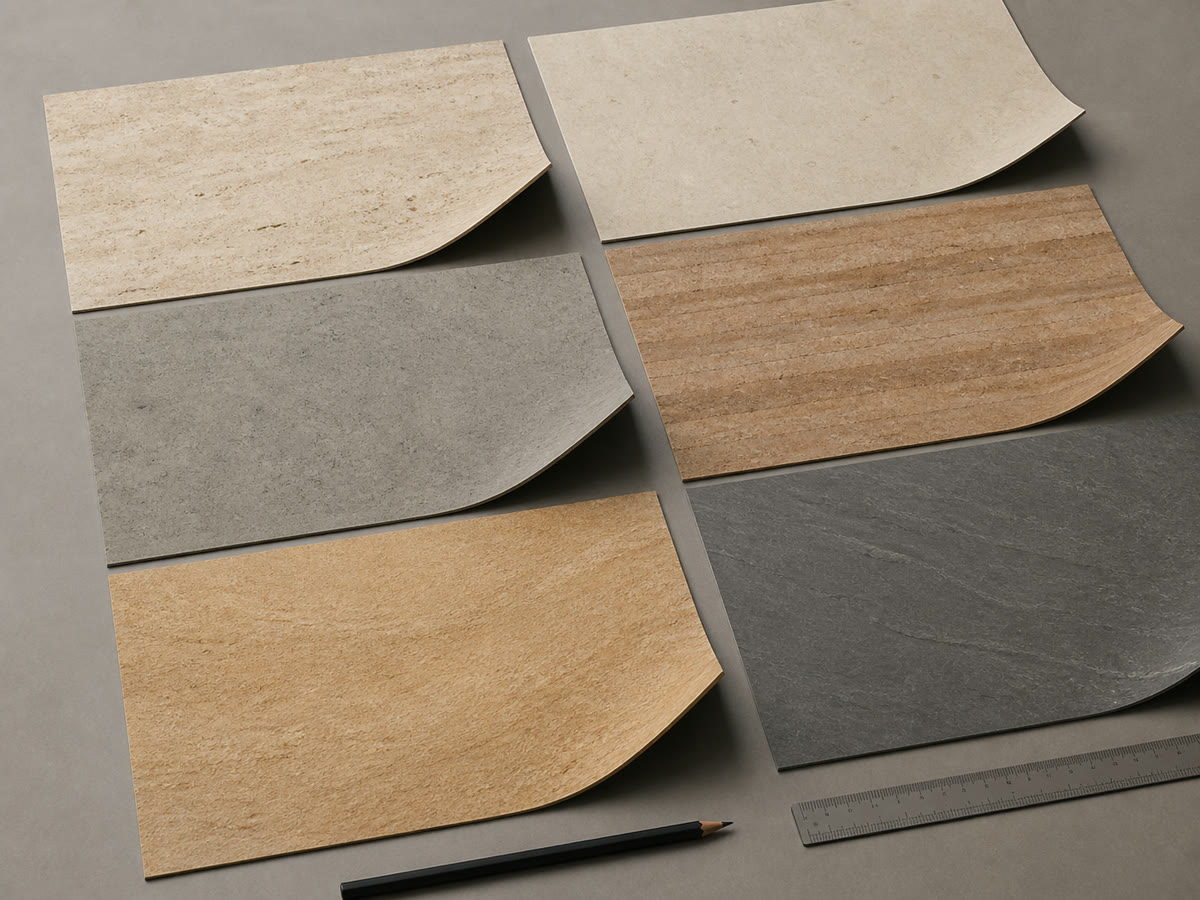
The Architectural Texture Series is bendable engineered MCM flexible stone for decorative walls. Shortlist the appearance using physical samples, then confirm the format and permitted curve for the exact texture before setting the panel layout.
Travertine-look and sandstone-look offer starting points for a warm mineral finish; slate-look offers another texture direction. Compare the samples beside adjoining finishes under the intended lighting.
Identify the wall condition before requesting a recommendation
Keep the selected product and the curve drawing together. Identify the receiving face, radius or dimensioned profile, wall height and the extent of the curve; show seams and terminations on the matching elevation.
| Condition | Input to confirm | Dominant failure mode & prevention |
|---|---|---|
| Circular column | Record radius or diameter at a named face, plus height and wrap extent. | Wrong wrap length or awkward closing seam: coordinate the measured face and seam layout before cutting. |
| Concave or changing curve | Send a dimensioned profile and identify which side receives the finish. | A single radius misses part of the profile: review the actual curve with the selected sheet in a full-size mock-up. |
| Existing curved wall | Identify retained layers, repairs and the proposed bonding surface. | Bonding to an unsuitable layer: resolve the receiving wall and verify the proposed adhesive/backing combination. |
Scroll the table horizontally to see all columns.
Distinguish radius from diameter on the drawing
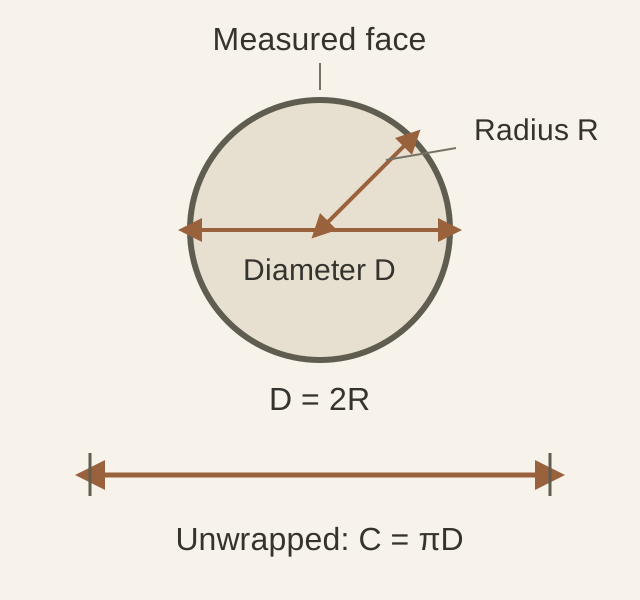
Name the face you measured, such as the receiving substrate, and use that reference consistently. For a circular column, radius R runs from the centre to that face; diameter D crosses the centre between opposite sides. A wall with a changing curve needs its dimensioned profile rather than one assumed radius.
For a full circle: D = 2R and developed length C = πD. Worked example with assumed inputs: D = 600 mm gives C = π × 600 ≈ 1,885 mm at the measured face. This geometric length excludes seam details, trimming and differences between the measured face and the panel face. It is not a cut size or a bend limit.
Coordinate sheet direction, seams and terminations
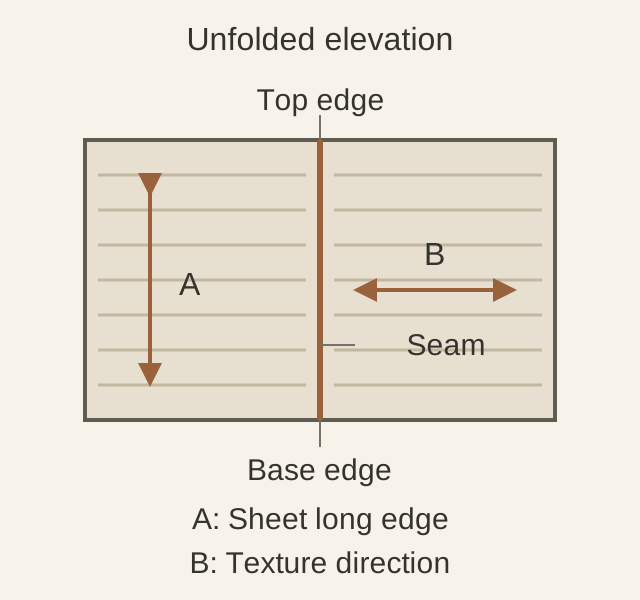
Show sheet long-edge direction and texture direction separately. Locate each proposed seam and the edges at ceilings, plinths and adjoining flat walls. Use matching drawing references on mock-up photos so the approved arrangement can be carried into the order.
Before releasing cuts, use the stone column wrap and curved wall layout guide to calculate panel divisions, review every seam against sightlines, and record edge response in the full-size mock-up.
A horizontal texture can sit on a vertically oriented sheet; the texture arrow alone does not identify the long edge. Show both on the drawing. Review the proposed closing seam on a column and the transitions to flat walls before agreeing the cutting layout.
If you are considering Rough Rammed Earth, send that product reference with the requested format. A large-format description alone does not establish a workable curve. Confirm the dimensions and proposed direction for the selected configuration.
Approve the curved assembly before ordering
Use the selected product and proposed receiving wall, preparation and adhesive in a full-size mock-up. Include a seam and a termination; agree any temporary restraint with the installer and product instructions. Record the curve, sheet direction, finish and approval outcome together.
If the mock-up does not confirm the selected sheet on the actual curve, hold the order and revise the product or layout. A smaller finish swatch settles appearance questions; it cannot settle the full seam, restraint and edge arrangement.
Review the substrate and adhesive with the installer against the selected product instructions. Identify retained coatings, moisture or loose layers before agreeing the preparation and bonding proposal. Request the documents needed for the intended wall use.
Compare quotations on the same scope
Ask each quotation to identify the selected finish and format, mock-up scope, wall preparation, primer and adhesive, curved cutting, seams and edge work. Confirm who includes packing, freight and site installation. Compare totals after identifying the exclusions.
Keep cutting waste and possible mock-up revisions visible in the project budget; their quantity follows the approved layout. Reconfirm the quote if the product, sheet direction or seam plan changes. See the sample-to-order workflow.
Frequently asked questions
Does flexibility prove exterior suitability?
No. Exterior suitability needs a separate project review of the named product, complete wall assembly, exposure and required approval documents. Keep this review separate from the finish sample and curved mock-up approval.
Method and sources
Updated October 2026. This application guide combines the existing sample and quotation process with project drawing checks. The radius example uses elementary circle geometry; its assumed dimensions describe no product capability.
LATICRETE Thinsets FAQ (accessed 18 October 2026) supports selecting installation materials for the substrate and checking a trial area under site conditions. It covers tile and stone systems, not a specification for the selected flexible-stone panel. Confirm bend suitability, backing, dimensions, adhesive and any exterior documents for the named product and project.